
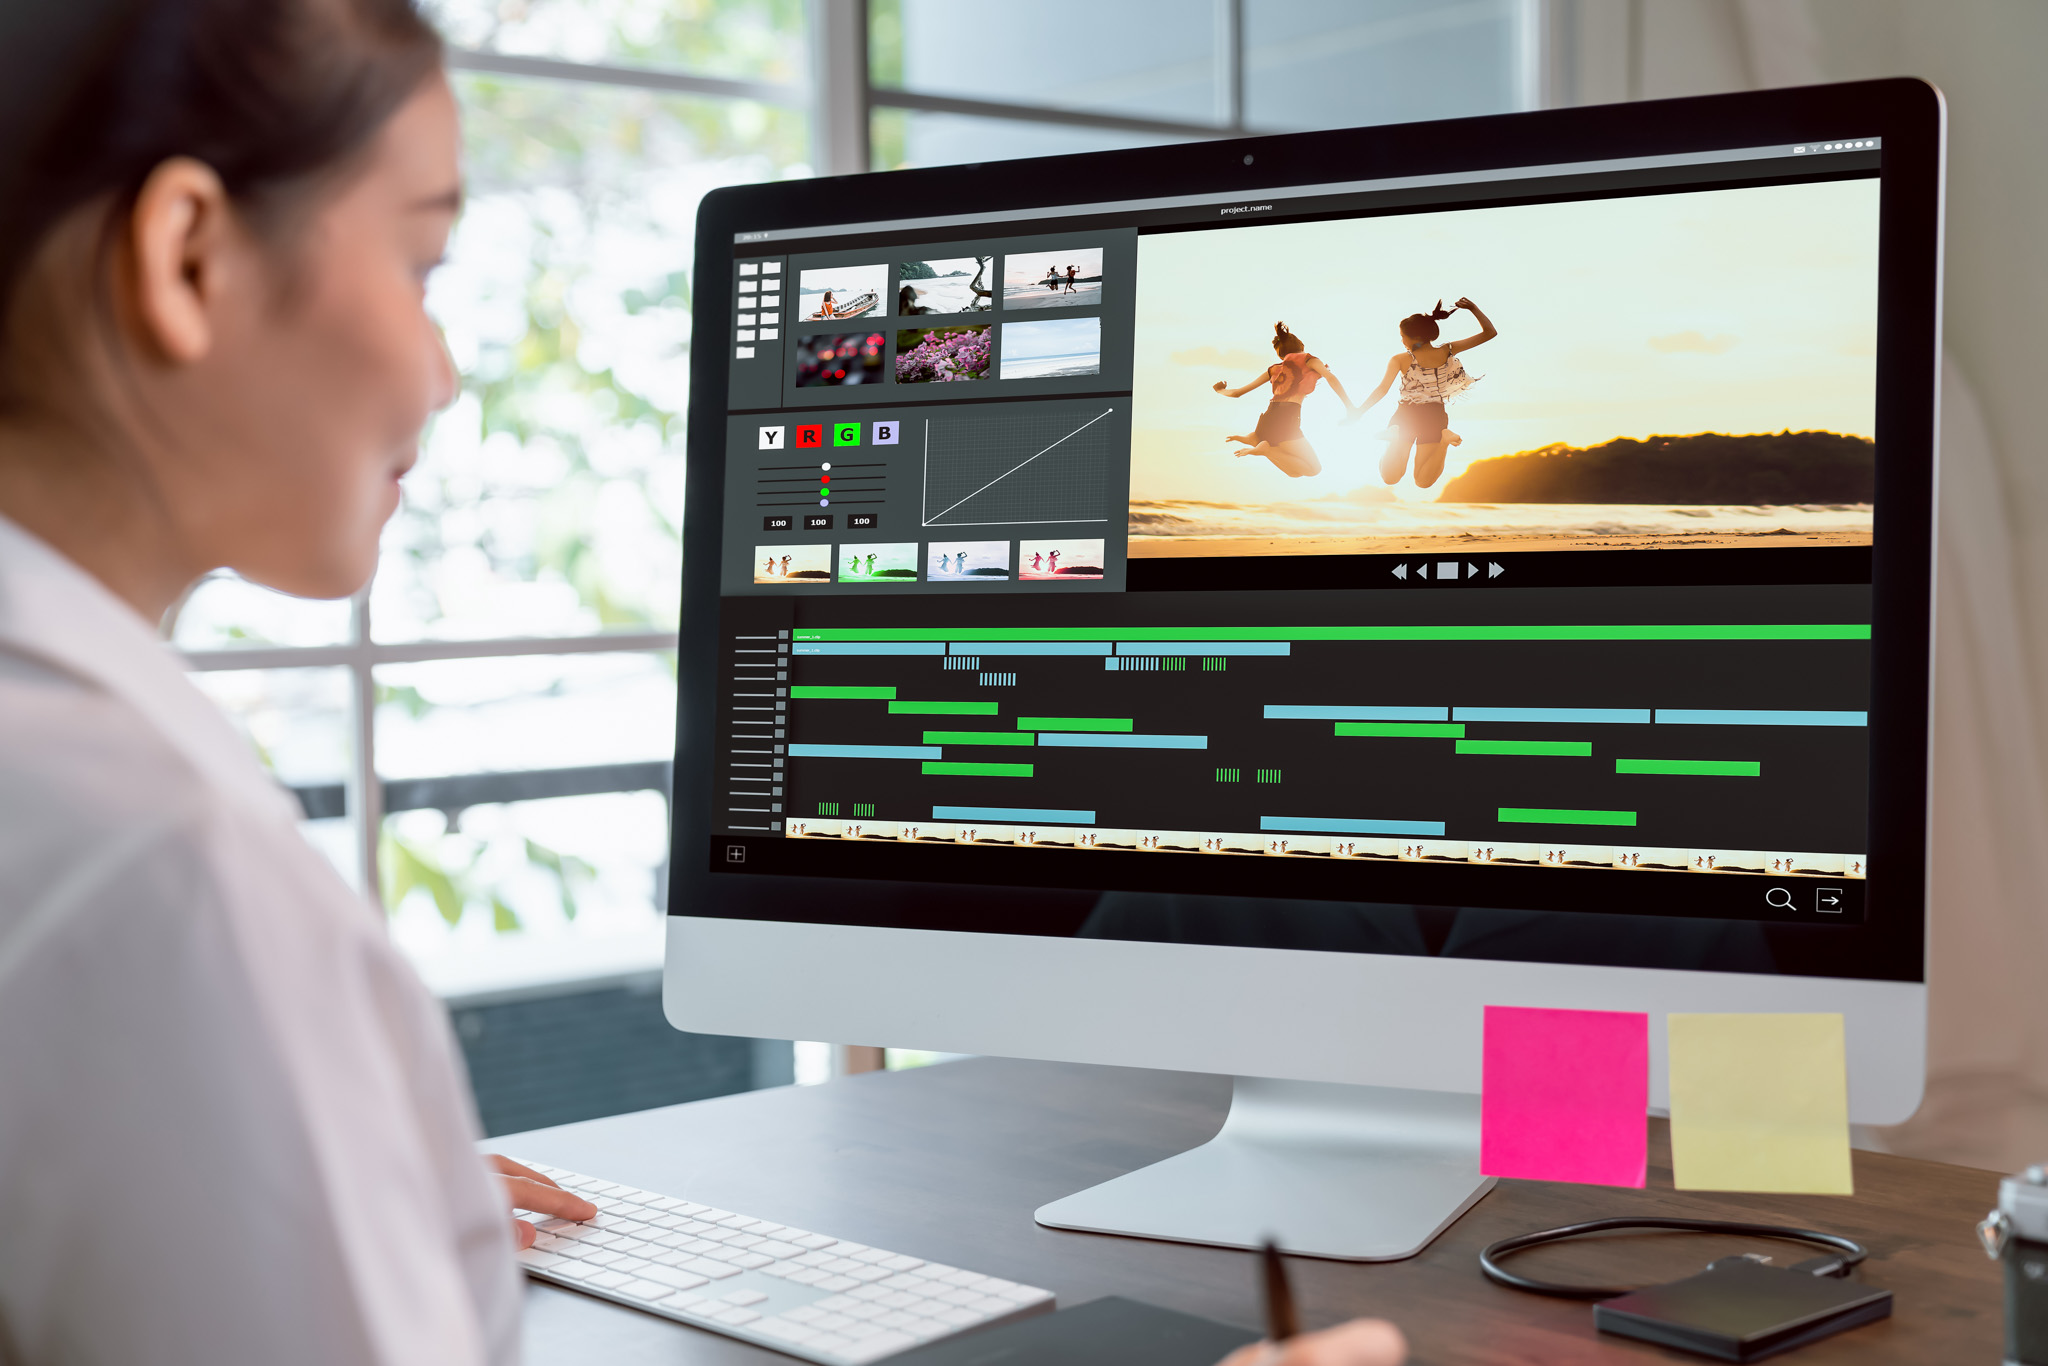
To create a lightsaber effect in Final Cut Pro, you can follow these steps using built-in tools and third-party plugins. Below is a method using masking and glow effects, plus options for plugins if you want a faster workflow.
🔧 Manual Method (No Plugins)
✅ Step 1: Prepare Your Footage
Import your video clip where the actor is swinging or holding a prop (ideally a stick or rod for tracking reference).
✅ Step 2: Add a Shape Mask for the Blade
- Go to the Effects Browser and search for “Draw Mask.”
- Drag the Draw Mask onto the clip.
- Use the pen tool to draw the shape of the lightsaber blade frame by frame (rotoscope). Place four points to make a rectangle covering the blade.
✅ Step 3: Add the Glow Effect
- In the Effects Browser, search for “Glow” and drag it onto your masked clip.
- Adjust:
- Glow Amount
- Radius
- Color (to green, blue, red, etc.)
✅ Step 4: Feather & Soften Edges
- Inside the Draw Mask settings, increase Feather and Falloff for a smoother, more glowing blade look.
✅ Step 5: Animate the Blade (Keyframing)
If the blade moves, you’ll need to keyframe the mask to follow the motion:
- Go to the start frame, set the keyframe for Control Points.
- Move frame-by-frame, adjusting the mask to match the blade position.
🚀 Faster Option: Use Plugins
If you want to save time and improve quality, try plugins:
✅ CoreMelt SliceX / TrackX
- SliceX allows you to track objects automatically (no manual keyframing).
- Track the hilt and attach the blade mask to it.
- Website: coremelt.com
✅ Pixel Film Studios – ProSaber
- Dedicated plugin for lightsaber effects.
- Includes glow presets, sound FX, and easy controls.
🔊 Add Sound Effects
Don’t forget to add lightsaber sound FX during swings, clashes, and hums. You can find free/paid ones on:
Thank you for reading! Please stay connected with me on all my social media platforms. @djmakeart
For more updates, tips, and inspiration. Don’t forget to explore my website djmakeart.com for exclusive content and projects. Let’s create and grow together—see you there!
Contact us through www.djmakeart.com/contact-us/

🛠 Step-by-Step: How to Create a Vertical Video Template

Why Yoast seo setting doesnt appear

Why Yoast SEO may be malfunctioning on your website

Why the “Add Post to Story Every Time” Option Doesn’t Appear on My Account

Why is SEO Yoast option is not working ?

Which camera is better, Canon or Sony?

Where to Buy the Best Used Camera Gear in 2025: Trusted Sites & Smart Tips

Where can I find free VFX content for editing?

Where can I find free VFX content for editing?
Welcome to the DJMakeArt website