Klaviyo is a powerful email and SMS marketing platform, especially popular with e-commerce brands for its automation and segmentation capabilities. Here’s a beginner-friendly guide to using Klaviyo effectively:
🛠️ Step-by-Step: How to Use Klaviyo
1. Create an Account
- Go to klaviyo.com and sign up.
- Connect your e-commerce platform (e.g., Shopify, WooCommerce, BigCommerce).
2. Import Contacts
- Go to Audience > Lists & Segments.
- Click Create List / Segment > choose List.
- Upload your CSV file or sync contacts from an existing platform (like Mailchimp or Shopify).
3. Create Signup Forms
- Navigate to Signup Forms.
- Click Create Signup Form (popup, flyout, embedded).
- Customize with branding, and add form fields (email, name, etc.).
- Set display settings and publish.
4. Build Email Campaigns
- Go to Campaigns > Create Campaign.
- Choose Email or SMS.
- Design the email with the drag-and-drop editor or use a pre-built template.
- Choose your audience segment.
- Schedule or send immediately.
5. Set Up Flows (Automation)
- Navigate to Flows > Create Flow.
- Choose from templates (e.g., Welcome Series, Abandoned Cart, Post-Purchase).
- Drag & drop emails, time delays, and logic branches.
- Example:
- Trigger: Joins list
- Delay: 1 day
- Email 1: Welcome Email
- Delay: 3 days
- Email 2: Product Education
6. Segment Your Audience
- Go to Lists & Segments > Create Segment.
- Set conditions like:
- “Has placed order at least once”
- “Opened email in the last 30 days”
- Segments update automatically as contacts meet the conditions.
7. Track Performance
- Navigate to Analytics or view Reports for campaigns and flows.
- Metrics to watch:
- Open Rate
- Click Rate
- Revenue per Recipient
- Unsubscribes
🧠 Tips for Success
- Use Smart Sending: Avoid emailing contacts too frequently.
- A/B Test Subject Lines: Improve open rates.
- Use Personalization Tags: E.g., {{ first_name }}.
- Sync with Facebook Ads: Create lookalike audiences based on email segments.
Thank you for reading! Please stay connected with me on all my social media platforms. @djmakeart
For more updates, tips, and inspiration. Don’t forget to explore my website djmakeart.com for exclusive content and projects. Let’s create and grow together—see you there!
Contact us through www.djmakeart.com/contact-us/
🛠 Step-by-Step: How to Create a Vertical Video Template
1. Start a New Project Open DaVinci Resolve, and create a New Project. Name it…
Why Yoast seo setting doesnt appear
If the Yoast SEO settings are not appearing in your WordPress dashboard or on your…
Why Yoast SEO may be malfunctioning on your website
Yoast SEO may be malfunctioning on your website for several reasons. Here are some common…
Why the “Add Post to Story Every Time” Option Doesn’t Appear on My Account
If you’ve noticed that the “Add post to story every time” option doesn’t appear on…
Why is SEO Yoast option is not working ?
If the Yoast SEO plugin isn’t working as expected on your website, here are some…
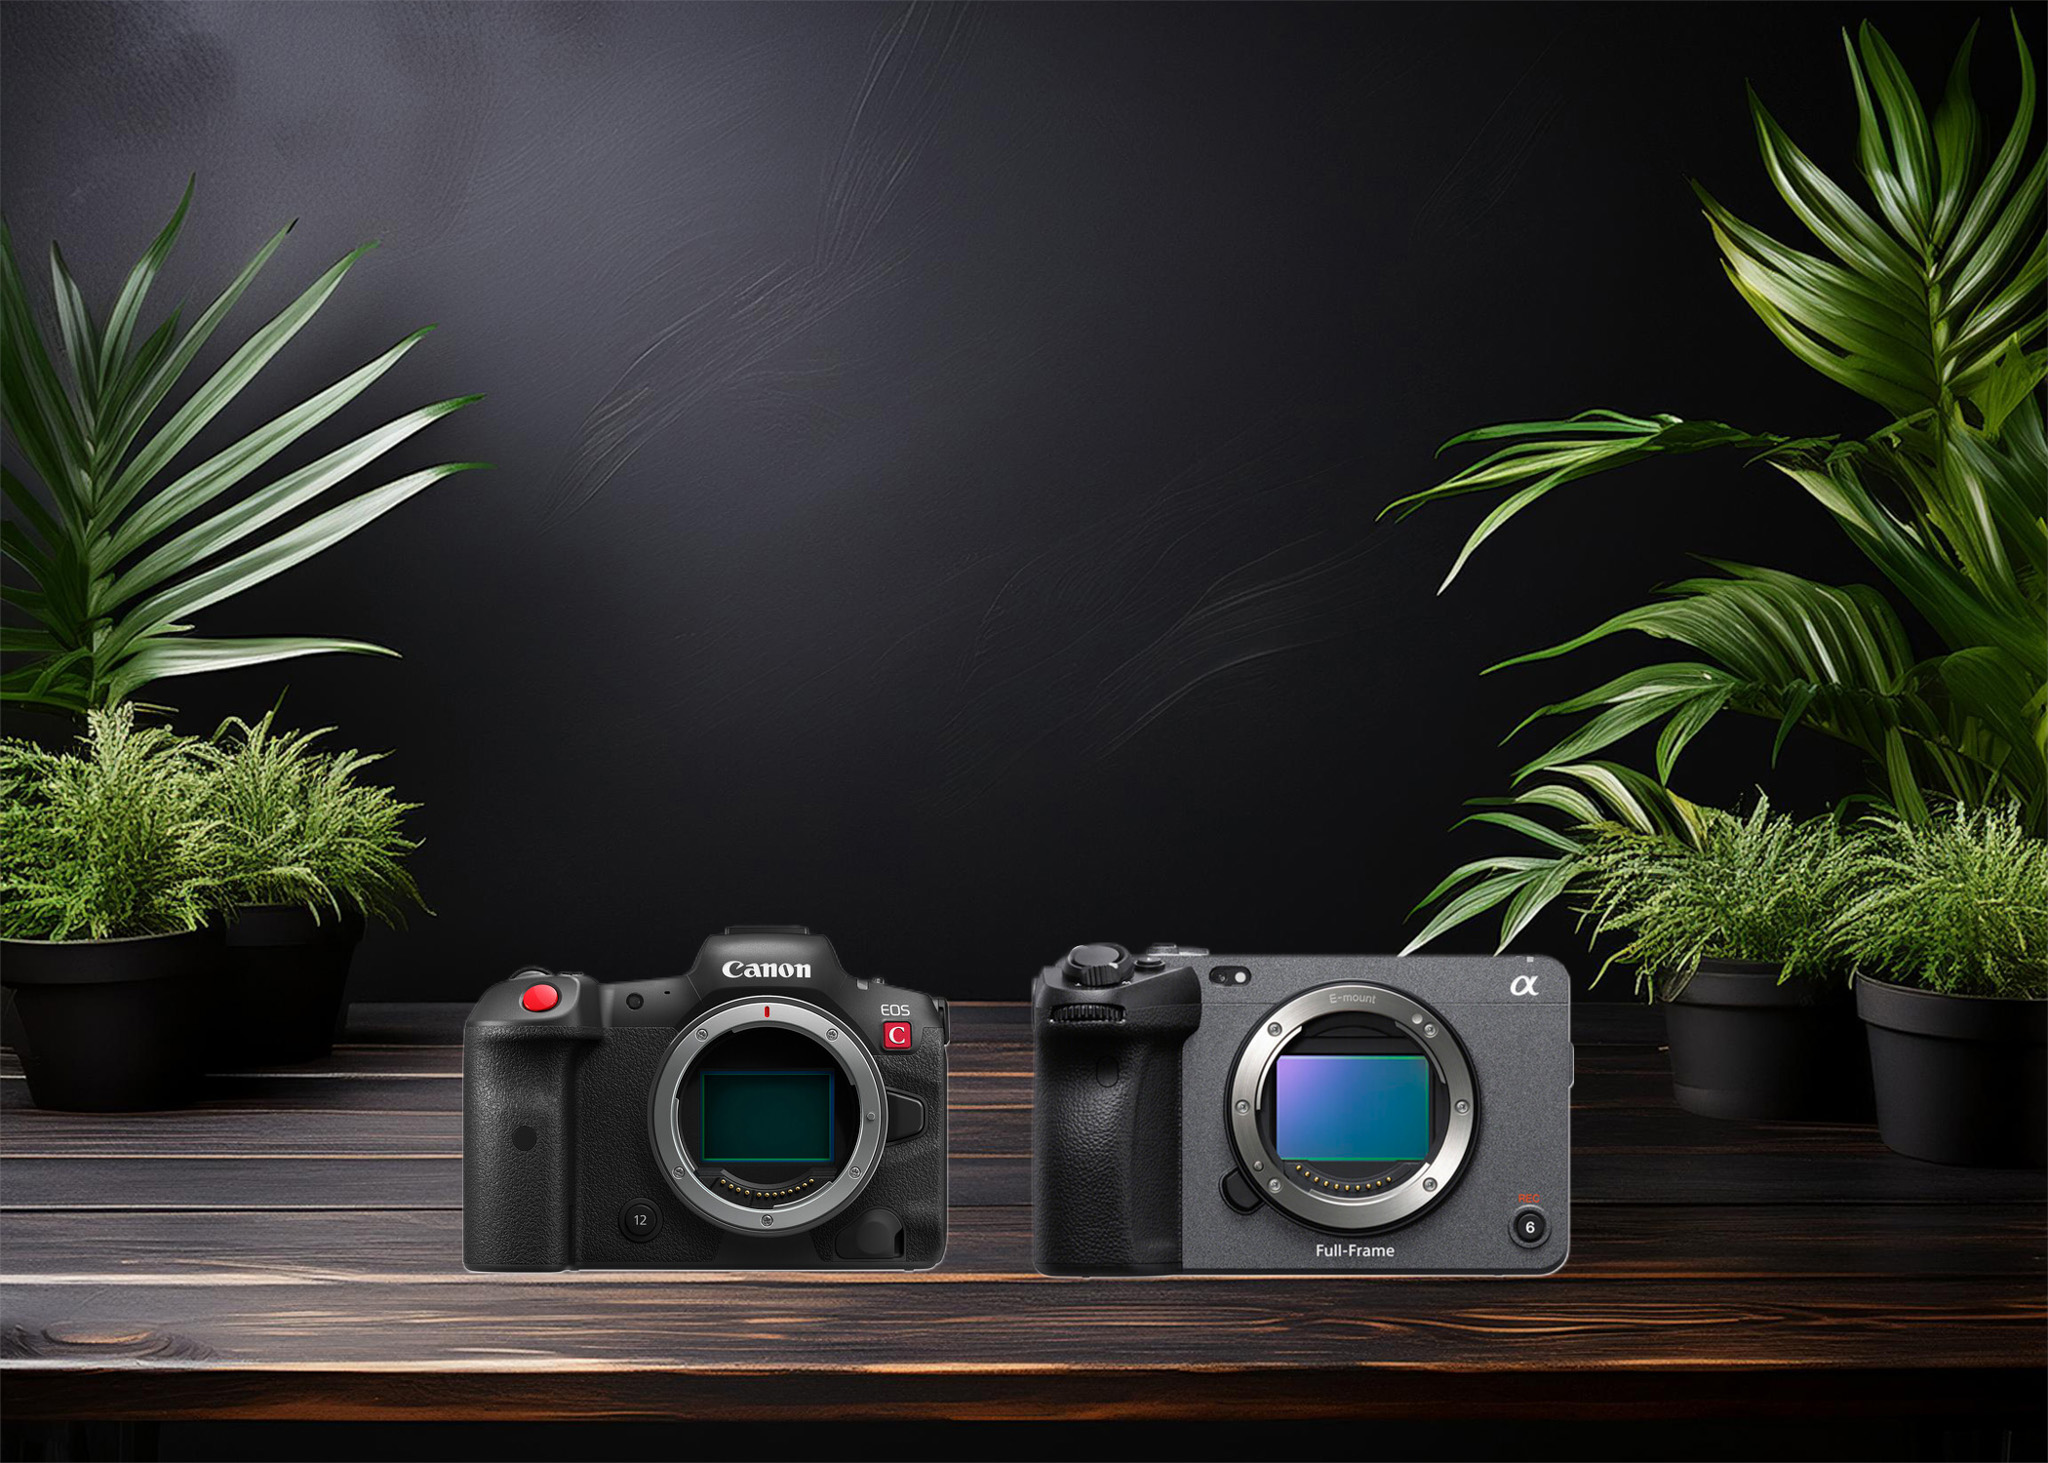
Which camera is better, Canon or Sony?
Choosing between Canon and Sony depends on your specific needs, preferences, and the type of…
Where to Buy the Best Used Camera Gear in 2025: Trusted Sites & Smart Tips
Whether you’re a budding photographer, a seasoned videographer, or a content creator building your setup…
Where can I find free VFX content for editing?
You can find free VFX (visual effects) assets from several reliable online sources. These include…
Where can I find free VFX content for editing?
You can find free VFX (visual effects) assets from several reliable online sources. These include…
Welcome to the DJMakeArt website


