Here’s a step-by-step guide:
✅ 1. Hardware Setup
- Connect the Shure SM7B to the Wave XLR using a high-quality XLR cable.
- Plug the Wave XLR into your computer via USB-C.
- Ensure Phantom Power (48V) is OFF since the Shure SM7B is a dynamic microphone and doesn’t need it.
✅ 2. Gain Settings on Wave XLR
- Open Wave Link Software (if installed).
- Set the Gain Level between 50-60 dB. The exact value depends on your voice and how close you are to the microphone.
- If you’re speaking close (within 6 inches), start around 50 dB.
- If you’re a bit farther, you may need to go up to 60 dB.
- Avoid maxing out the gain to prevent introducing noise.
✅ 3. Wave Link Software Settings
- Add the Microphone Input (Wave XLR) as a Source in the software.
- Enable Clipboard (if available) to prevent distortion from sudden loud sounds.
- Adjust Output Volume to suit your monitoring preferences (use headphones for monitoring if possible).
✅ 4. Windows / macOS Audio Settings (If not using Wave Link)
- Go to Sound Settings and ensure Wave XLR is set as your default Input Device.
- Adjust Input Levels if needed, but this should mainly be handled by the Wave Link software.
✅ 5. Additional Tips for Optimal Sound
- Use a Windscreen or Pop Filter – The Shure SM7B comes with a standard windscreen, but if you find plosives are still an issue, consider upgrading to the RK345 or using an external pop filter.
- Mic Positioning – Aim for 6 inches away from the mic, speaking slightly off-axis to reduce plosives.
- Add Noise Suppression (Optional) – If using software like OBS or your DAW, you can apply a Noise Gate & EQ to enhance clarity.
- Avoid Over-processing – The SM7B sounds great naturally. Just a bit of EQ and Compression can help make your voice sound more polished.
Thank you for reading! Please stay connected with me on all my social media platforms. @djmakeart
For more updates, tips, and inspiration. Don’t forget to explore my website djmakeart.com for exclusive content and projects. Let’s create and grow together—see you there!
Contact us through www.djmakeart.com/contact-us/
🛠 Step-by-Step: How to Create a Vertical Video Template
1. Start a New Project Open DaVinci Resolve, and create a New Project. Name it…
Why Yoast seo setting doesnt appear
If the Yoast SEO settings are not appearing in your WordPress dashboard or on your…
Why Yoast SEO may be malfunctioning on your website
Yoast SEO may be malfunctioning on your website for several reasons. Here are some common…
Why the “Add Post to Story Every Time” Option Doesn’t Appear on My Account
If you’ve noticed that the “Add post to story every time” option doesn’t appear on…
Why is SEO Yoast option is not working ?
If the Yoast SEO plugin isn’t working as expected on your website, here are some…
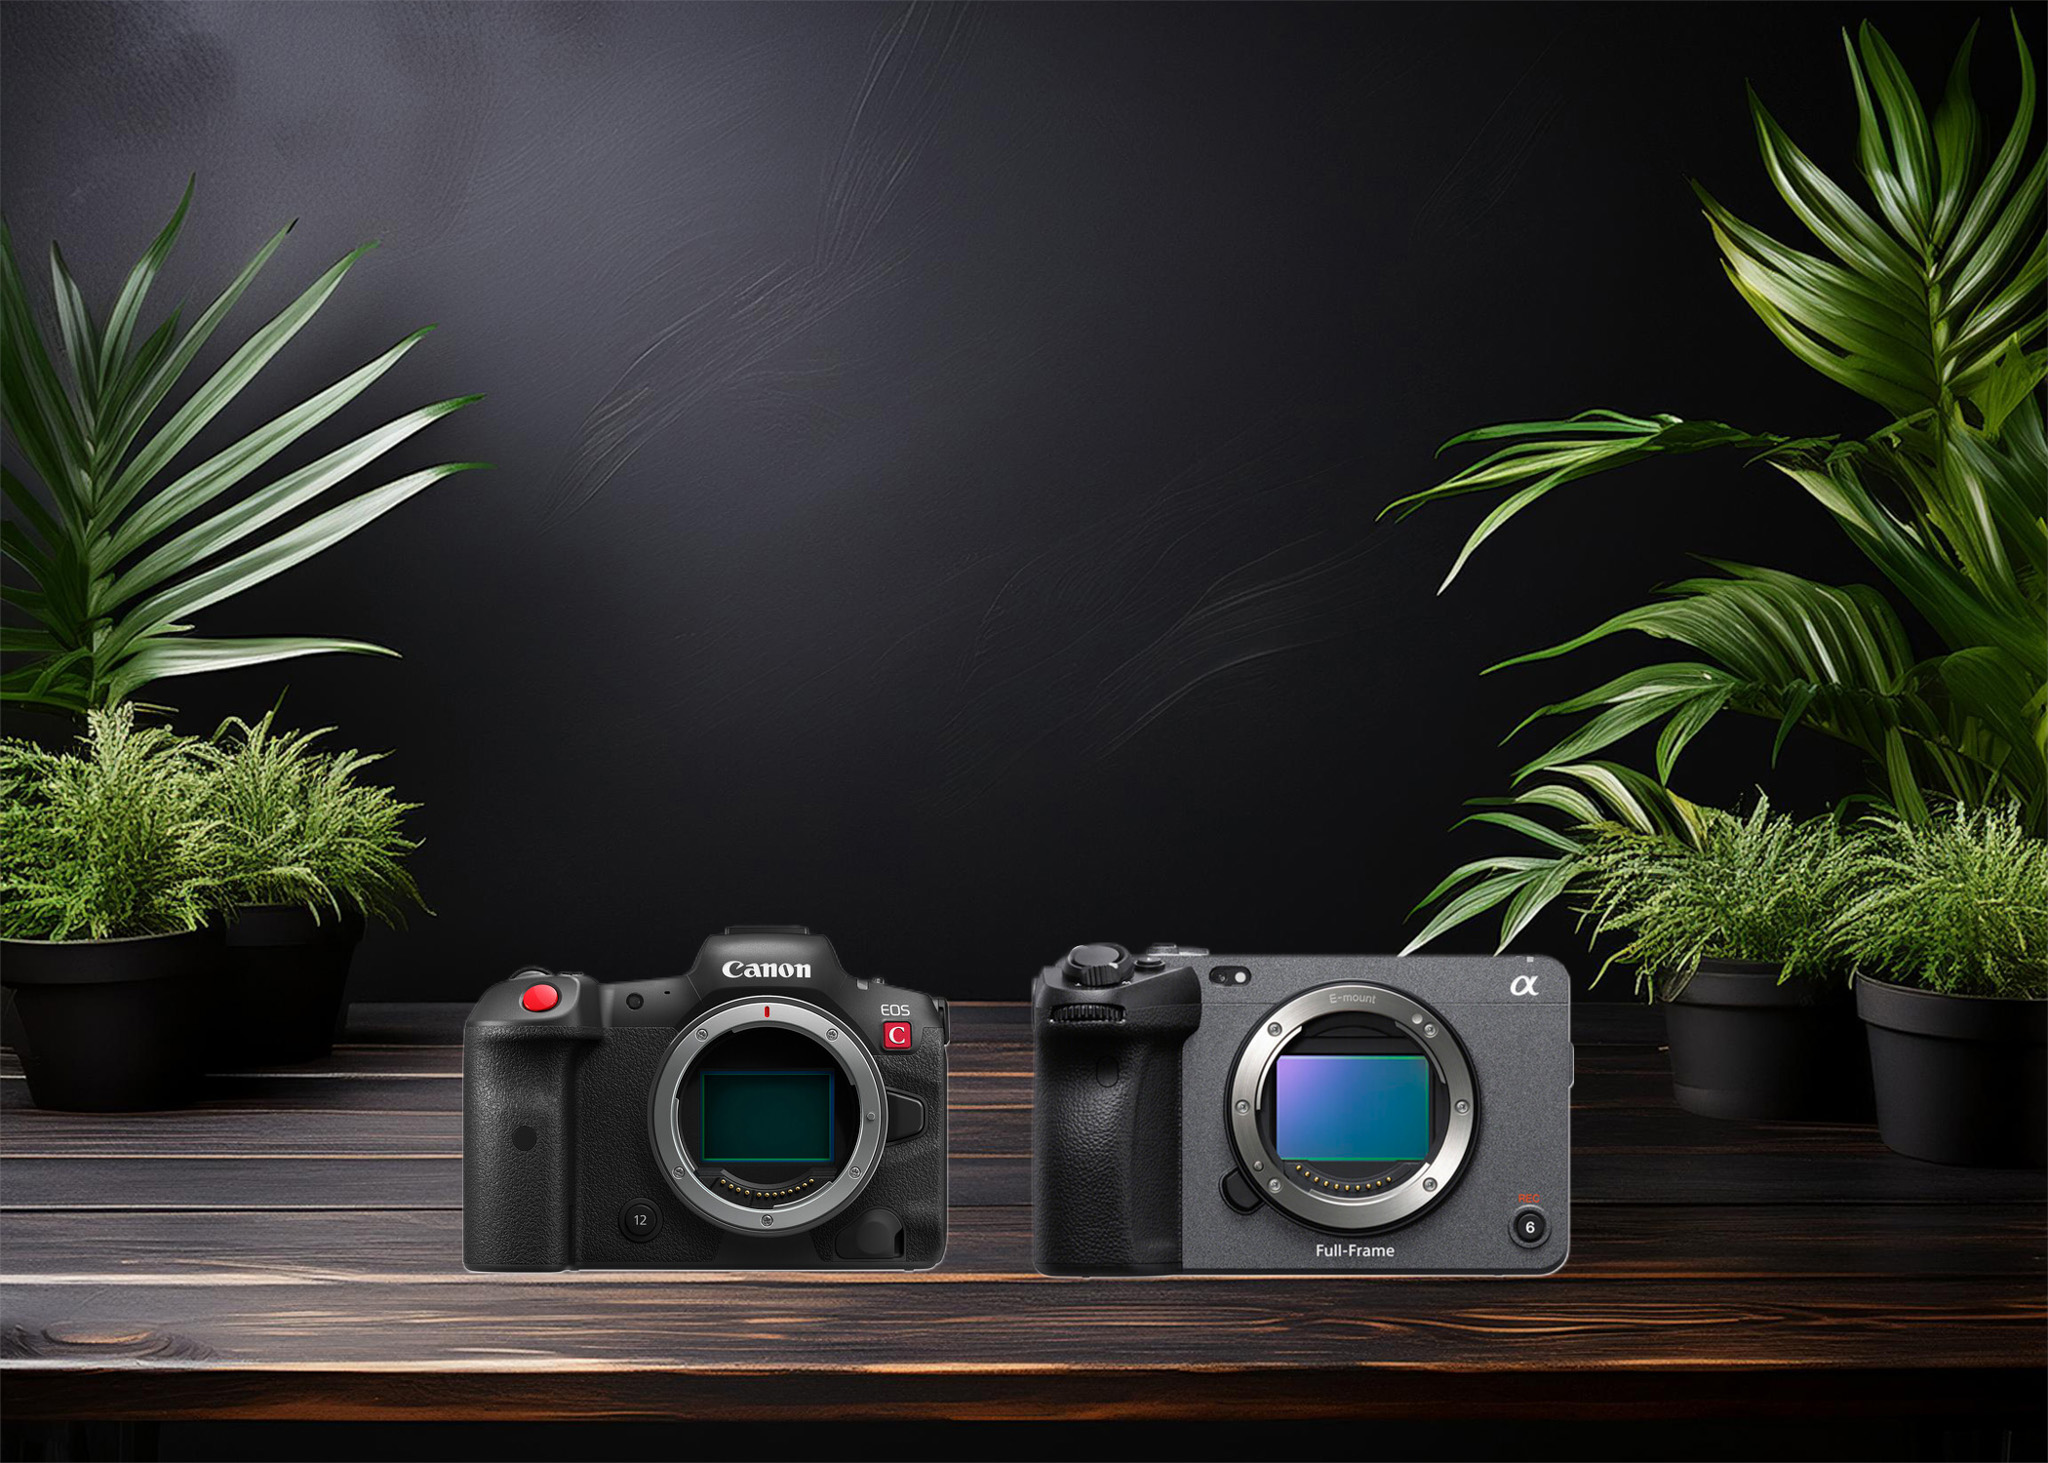
Which camera is better, Canon or Sony?
Choosing between Canon and Sony depends on your specific needs, preferences, and the type of…
Where to Buy the Best Used Camera Gear in 2025: Trusted Sites & Smart Tips
Whether you’re a budding photographer, a seasoned videographer, or a content creator building your setup…
Where can I find free VFX content for editing?
You can find free VFX (visual effects) assets from several reliable online sources. These include…
Where can I find free VFX content for editing?
You can find free VFX (visual effects) assets from several reliable online sources. These include…
Welcome to the DJMakeArt website
