Timeline Navigation Tips in CapCut
If you’ve ever felt like your editing slows down the moment you hit the timeline, you’re not alone. The timeline in CapCut is where all the real work happens—cutting clips, syncing audio, adjusting effects, and building your final video. But most beginners (and even intermediate editors) only use a small fraction of what the timeline can actually do.
Learning how to navigate the CapCut timeline efficiently can completely change your editing speed and quality. Instead of dragging, guessing, and zooming randomly, you can move like a pro editor with precision and control.
Below are the most effective timeline navigation tips to help you edit faster, cleaner, and with more confidence.
1. Master Zooming for Precision Editing
One of the most important timeline skills is zoom control. If your timeline is too zoomed out, you’ll struggle to make accurate cuts. If it’s too zoomed in, you lose overall context.
Use Zoom strategically:
- Zoom in when cutting dialogue, beats, or transitions.
- Zoom out when arranging the overall structure or sequencing clips.
On mobile, pinch gestures give you fast control. On desktop, use the zoom slider or mouse scroll (depending on your setup). The key is learning when to switch views—not staying in one zoom level.
Pro editors constantly zoom in and out while editing. It’s not a mistake—it’s workflow.
2. Use the Playhead Like a Navigation Tool
The playhead is more than just a playback marker—it’s your main navigation anchor.
Instead of scrubbing randomly:
- Tap or click directly on key points in the timeline.
- Jump between cuts to review pacing.
- Use the playhead to mark exact edit points before trimming.
This helps you avoid “close enough” edits and improves timing accuracy, especially for shorts and fast-paced content.
If you’re editing YouTube Shorts or TikTok content, precision around the playhead is what makes edits feel clean and intentional.
3. Split Clips with Purpose, Not Random Cuts
A common beginner mistake is over-cutting the timeline. Every split should have a purpose:
- Removing mistakes or pauses
- Creating transitions or jump cuts
- Syncing visuals to audio beats
Instead of repeatedly slicing clips, plan your structure first:
- Watch the full clip
- Mark important sections mentally.
- Then execute clean cuts in sequence.
This reduces clutter on your timeline and makes future adjustments much easier.
4. Learn to “Slide Edit” for Better Flow
Slide editing is one of the most underrated techniques in CapCut.
Instead of constantly cutting and deleting:
- Drag clips left or right to re-time sequences.
- Adjust clip placement without breaking structure.
- Maintain continuity while improving pacing.
This is especially useful when working with dialogue or voiceovers. You can shift visuals without disturbing your audio alignment.
Think of it as rearranging puzzle pieces instead of cutting new ones every time.
5. Use Magnetic Snapping for Clean Alignment
CapCut’s snapping feature helps keep everything aligned on the timeline. When enabled, clips automatically “snap” into place next to each other.
This is essential for:
- Avoiding gaps between clips
- Aligning transitions cleanly
- Keeping audio and video synced
If your edits ever feel slightly off or uneven, snapping is usually the fix. It prevents micro-gaps that can make your video feel unprofessional.
6. Organize Layers for Better Timeline Control
Once you start using multiple video tracks, your timeline can get messy fast.
Best practices:
- Keep the main footage on the top track.
- Place B-roll underneath
- Use separate tracks for text, effects, and overlays.
- Label mentally (or visually) what each layer does.
Even though CapCut keeps things simple, treating layers like a professional editor helps you avoid confusion later in the project.
A clean timeline = faster editing decisions.
7. Use Keyframes to Navigate Motion Smoothly
Keyframes aren’t just for animation—they also help you navigate timing changes.
You can use keyframes to:
- Smooth zoom-ins or zoom-outs
- Create motion across clips.
- Adjust position over time without cutting.
Instead of splitting clips for movement, keyframes allow continuous control inside a single clip. This keeps your timeline cleaner and more flexible.
8. Jump Efficiently Between Clips
Instead of dragging manually across long timelines:
- Tap directly on clips to jump instantly.
- Use the start and end of clips as navigation markers.
- Zoom out to see the structure, then zoom in for detail work.
Efficient navigation reduces editing fatigue. The less time you spend searching, the more time you spend creating.
9. Use Audio Waveforms for Faster Editing
Audio waveforms are one of the most powerful navigation tools in CapCut.
They help you:
- Find silence gaps instantly.
- Identify speech or beat changes.
- Sync cuts to sound peaks
If you’re editing voiceovers, podcasts, or music-driven content, waveforms should guide most of your cuts—not guesswork.
10. Build a Consistent Editing Flow
The best editors don’t just “use tools”—they follow a workflow.
A simple timeline workflow could look like this:
- Import and arrange clips
- Review the full footage once
- Cut rough structure
- Refine timing with Zoom + playhead
- Add effects and transitions.
- Final pass for pacing and cleanup
Once you repeat this process, navigation becomes automatic. You stop thinking about where things are—and start thinking about storytelling.
Final Thoughts
Timeline navigation in CapCut isn’t about knowing every button—it’s about building habits that make editing smoother and faster. The more intentional you become with zooming, cutting, layering, and navigating, the more professional your videos will feel.
Small improvements in timeline control lead to massive improvements in final output quality.
Thank you for reading! Please stay connected with me on all my social media platforms. @djmakeart
www.instagram.com/djmakeart
www.youtube.com/djmakeart
www.tiktok.com/djmakeart
www.facebook.com/djmakeart
www.x.com/djmakeart
For more updates, tips, and inspiration. Don’t forget to explore my website, djmakeart.com, for exclusive content and projects. Let’s create and grow together—see you there!
Contact us through www.djmakeart.com/contact-us/

🛠 Step-by-Step: How to Create a Vertical Video Template

Why Yoast seo setting doesnt appear

Why Yoast SEO may be malfunctioning on your website

Why the “Add Post to Story Every Time” Option Doesn’t Appear on My Account

Why is SEO Yoast option is not working ?
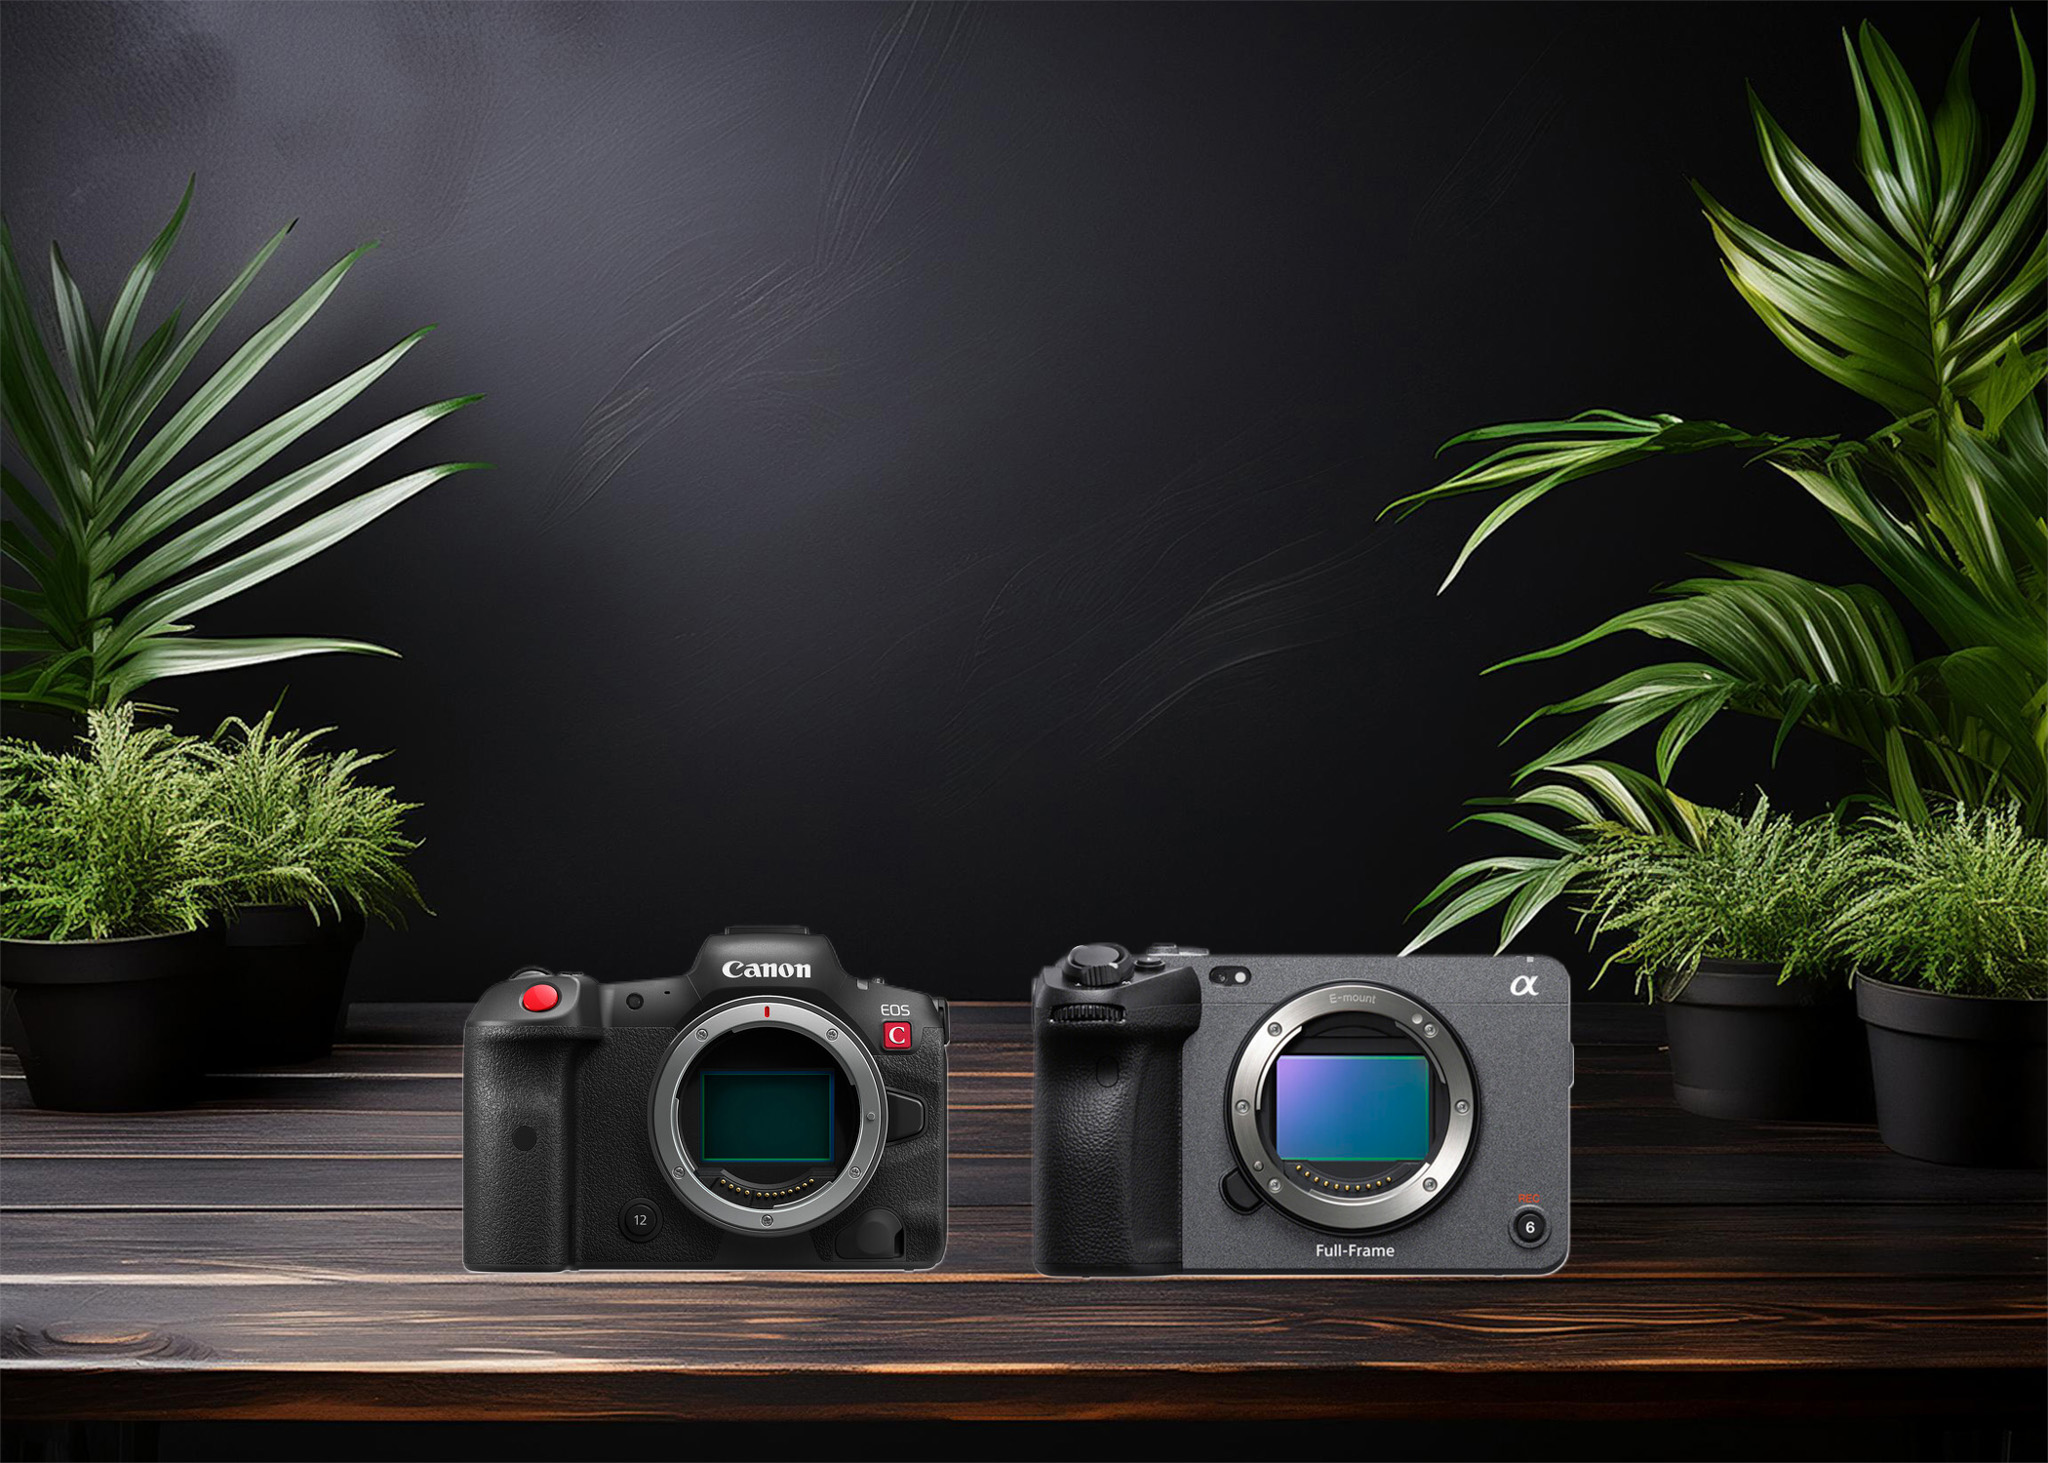
Which camera is better, Canon or Sony?
Where to Buy the Best Used Camera Gear in 2025: Trusted Sites & Smart Tips

Where can I find free VFX content for editing?

Where can I find free VFX content for editing?
Welcome to the DJMakeArt website